TeamViewer Quick Support Instructions
Windows PC
1. Click on the link and TeamViewer should automatically begin downloading at the bottom of your browser.

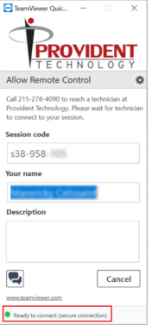
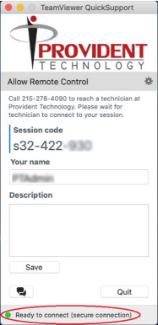
2. Once you open TeamViewer you should see the following pop-up. The session code and name fields should autofill. Make sure the bottom of the dialog box is green and says ready to connect.
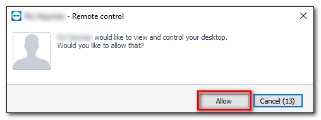
3. After a couple seconds, you should see another pop up authorizing you to allow a Provident Support Team Member to view and control your desktop. Click Allow.
4. You have successfully completed the process.
MacOS
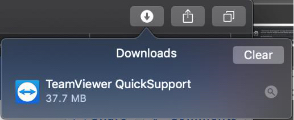
1. Click on the link and TeamViewer should automatically begin downloading in the top right of your browser. Click on the magnifying glass to open TeamViewer.
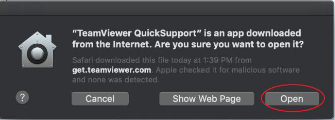
2. You should see the following dialogue box on your computer. Select Open.
3. You should see the TeamViewer Quick Support Console window. Session code and name should autofill. Make sure the bottom of the window has a green dot that indicates Team Viewer is ready to connect.
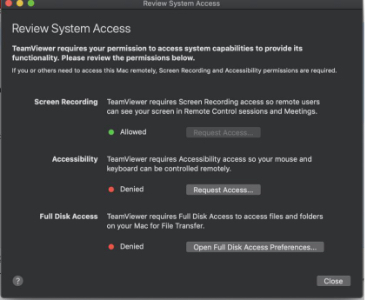
4. If you see the following dialogue boxes, change all 3 settings to be ALLOWED.
5. Once you see the following dialogue box, click Allow to start the Quick Support session.
